 Unlocks
Basics
Here you will find a table of all the unlocks in the game. Each unlock relative to its Wizard or Tome is made available to unlock after clearing the achievement prior to it. Some prompts will track your progress and others require their values be met completely in order to unlock. With multiple open prompts, you are able to progress or unlock more than one achievement in a run. Progress of achievements will accrue whether you achieve victory in your run or not. We've also listed some potential approaches for unlocking the Vault Artifacts; please note that these guides are entirely subjective, as there are usually multiple ways to perform these feats.

"Greed is Good"
Buy 3  Artifacts from a single shop.

"Mass Caster"
Cast 20  Spells in a single turn.
- There are plenty of
 Spells with 3
  Charges available, and with 7 Spell Slots in your hand, you can cast
  Spells a total of 21 times with this alone.
- The matter here is not only to have enough
 Charges to cast, but enough
  Dice to cast them.
 Spells that provide Roll or Reroll effects make this achievement easy to accomplish.
 Artifacts and
  Rituals that would produce additional
  Dice will also help tremendously for spending all your charges.
- If your build is lacking a few necessary charges, try and collect a couple
 Energizing Potions or a
  Flask of Echoes.


Loadout C: Mulch


- The Signature Mana Purification in Azar's Loadout B is mainly utilized to produce
 s for the most
  Block gained while stacking
  Radiant from Sunshield.
- Build
 Radiant from Sunshield over several turns until you can set it off with the first cast of your Mass Caster turn.
- Once
 Radiant is set off, we spend Mutilation for all the dice needed for our other Spells, totaling 20 casts in a single turn.
 Emberstone Ring was considered here for a strong start with
  Radiant on the first turn.
 Staff of Splintering was considered for providing extra dice for any of our Spells.


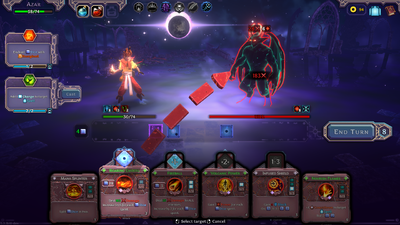
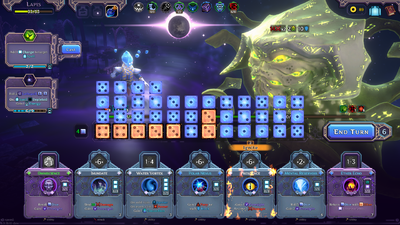
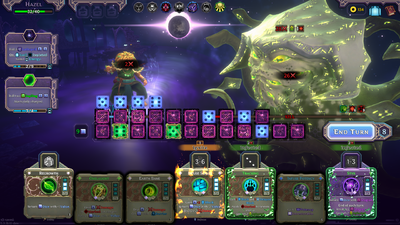
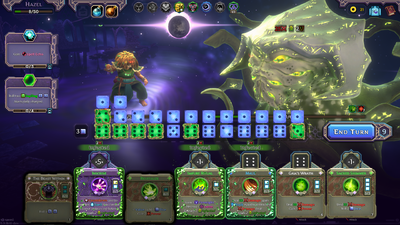
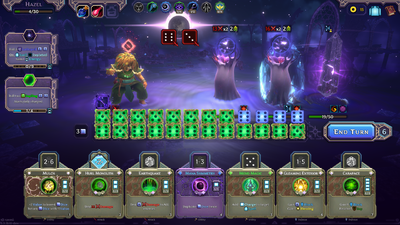
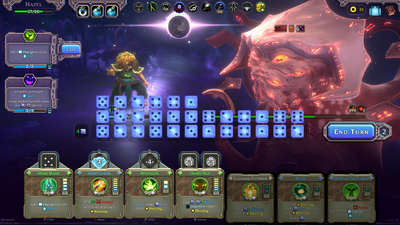
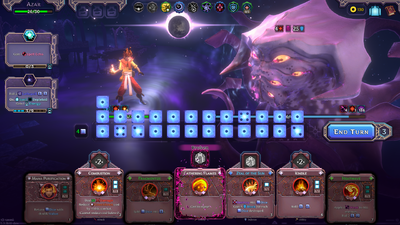
[File:Mass_Caster_Example4A.png|400x400px]] 
"Archmage"
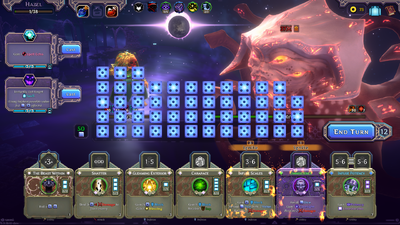
Roll 50  Dice in a single turn.
- It is important to note that Rerolling
 Dice also counts towards this feat.
- The
 Flowing Mana Potion is extremely helpful in this regard.
- The
 Void Spell Styx can potentially generate enough
  Dice to perform this feat alone.
- Lapis has the most concentrated Roll and Reroll effects of the 3
 Wizards.
- Azar's
 Radiant builds can produce 50
  Dice in a turn with some careful spending.
- Hazel may be the least effective, lacking in Roll and Reroll effects, however putting together a
 Blessing Build with the
  Spell Relief can clear this feat easily.


Loadout C: Mulch


"Devastator"
Deal 200  Damage with a single
  Spell cast.
- It is important to note that the 200 damage must be dealt with a single strike; dealing a total of 200 Damage through multiple hits of one spell will not count towards this feat.


Loadout C: Mulch


"Alpha Strike"
Defeat a boss in the first turn of combat.


- The Signature Cryogenesis from Loadout D was utilized mainly for its Enchantment effect; providing us with
 Icy dice.
- Our
 Plague Pestle artifact is coupled with multiple attack Spells to deal enormous damage for little cost.
- Noxious Ritual is cast to provide us with extra dice with no concern for the
 Poison setback since there will be no second turn.
- First, we attack with Incision to gain the
 Rupture boost for a most effective
  Pox explosion.
- Then we follow up with as many attacks from Inner Storm as possible; granted we have enough odd valued dice, this will be enough to defeat the boss on the first turn.


Loadout C: Mulch


"Lucky Survivor"
Win a battle with 1  Health remaining.
- If you can control your
 Block or
  Weak enough to determine how much damage you take, it will be easy to manipulate the outcome of any given battle.
- If you're having difficulty doing this naturally, the simplest way to perform this feat is to allow yourself to take 49 points of damage in the very first combat, then clear the fight.

"Spell Focus"
Have 6  Charges on a spell.

"Countdown Supreme"
- Azar may be the only Wizard for clearing this feat; using the Spells Conflagration and Nourish Flames to raise the cost of any given Countdown Spell while utilizing Split and other effects for producing low valued dice.
- With Azar, there are several Dice Spent effects; using the above mentioned
 Spells to raise the cost of a Dice Spent Spell can perform this feat, but it is important to have enough
  Block while you take on the task.
- See Dice Spent page.
- See Increase Socket tab on the Sockets page.


"Dice Hoarder"
Have 25+ available  Dice.
Dice.
- Utilizing Enchantments that allow your dice to Persist between turns are a good approach for this feat;
 Stygian,
  Sapling,
  Ether.
- Hunt for Split, Duplicate, or Return effects, or items that would increase the value of a die past
 and therefore produce an additional die.
- Building stacks of
 Foresight, or it's persistent counterpart
  Potency, can help produce additional dice at the start of your turn.
- Some
 Spells can produce more
  Dice than their cost with certain synergies, especially if you're using Concoction.
- Items that Decrease Countdown costs can allow you to cast without spending
 Dice, allowing you to keep more
  Dice in your tray.
- Dice Hoarding often scales like many other Status Effect systems in the game. The more you spend, the more you make overtime.


- The Signature Regrowth in Hazel's Loadout A was mainly used here to return value to dice spend in Infuse Scales or to produce
 s from
  s for Earth Bane.
- Over several turns we utilize the spell Styx to provide us with Persisting
 Stygian dice.
 Potency is also utilized here to increase the dice we start with each turn through the spell Infuse Potency.
 Sapling's Sphere Ritual was considered here as well for the Persisting
  Sapling dice.
- We reach 25+ available dice after several turns of spending Styx; be sure to have the defense to deal with enemy attacks until then.


Loadout C: Mulch


"Speed Slinger"
Win the game in less than 45 minutes.
- Part quick-decision-making and part build strength. Try and minimize the time you spend picking your route on each map, picking from drafts, and picking from shop or events.
- Give yourself 10 minutes to clear Act 1; Deadwoods. Then 15 minutes for Act 2; Scorched Desert. Lastly, 20 minutes for Act 3;The Void.
- Health can be used here as a time saver; ignore your defense and plan a path with
 Sanctuaries for recovery.
- If you can trust your build, avoid as many battles as you can in the final Act and get to Arkanax ASAP.
- High
 Damage builds can be good for clearing the first two Acts quickly while you put together some Defense for the final Act.


Loadout C: Mulch


"Untouchable"
Win the game without losing any  Health.
- It is especially important to be mindful of Autocasting Spells for this feat; If a Spell Debuff such as
 Ignite was to affect a Spell that would be cast automatically, it may ruin your run.
- Scaling Turtle Builds with high amounts of
 Defense and sources of Retaliative or Passive Damage can be useful here.
- You are able to spend your Max Health where possible and still clear this feat.
- It is important to note that many aspects of the builds presented below are interchangeable.


- The Signature Regrowth in Hazel's Loadout A was utilized mainly for reaching
 valued die or increasing the value of a
  to then produce a
  .
.
- This made it easy to have enough value for the cost of Transfigure without overspending from your starting roll; Transfigure then used to
 Deplete Sanctify Shell to give us a chance at another
  .
.
- Hazel's
 Thorns Spell Bramble Growth provide excellent offense and defense while stacking several Defensive Spells.
- While the combination of Transfigure and Sanctify Shell with the defensive upgrade for Bramble Growth usually provided enough block to allow
 Thorns to scale; Carapace stood as backup for cheap quick defense.
 Balanced Manapearl was chosen here to hope for
  s but any extra Even valued die only benefits the build.
- Our Starter Artifact was exchanged for the
 Thorned Pendant which is perfect for this build; hunt for it.
- Silver Hauberk and Enchanted Cloak provided a good initial defense to kick off
 Thorns in the first turn without concern.
- When lower valued dice are rolled, the
 Ritual Fortune's Favor was utilized to raise the value of
  Dice on these turns and ensured that the build cycle can be performed.
- With the Artifact
 Tablet of Anger, and Spells encouraging Depletion, our
  Fury builds with our
  Thorns to eventually be spent with the Spell Earthquake for a final sweep.
- The
 Dreadstone Boss Artifact is not recommended for this type of run unless you want the extra challenge. This build contained enough
  Block, and there was no risk of defeating an enemy before you could gain the
  Block necessary.


Loadout C: Mulch


- Azar's Self-Damage builds are not recommended for this feat.
"Voidstar"
Win the game at Mutation Stage 6.
- It's important to note that some Mutations can become an advantage, depending on your build.
- A Hazel
 Deplete /
  Depleted build would go well with "Diminishment," and an Azar Self-Damage build can benefit from "Bloodletting" or "Tempest."
- "Condemnation" and "Major Vex" can be utilized when you have specific costs for your spells, especially when lower valued dice are useful for the build.


